MIA - Missing In Action. Yup. That's me and I know it. But I have a great reason, home ownership. Isn't it grand?
In 2009, before we were married, Jim and I decided it was time to invest in a home. We had certain criteria we were looking for, and certain "wish list" items we hoped this new home would contain. In December of that year we closed escrow and moved into our home. One of the wish list items we really wanted, that our home did not have, was wood flooring. However, the market had crashed, prices were low and this home was on the market for much less than it would have sold for before the crash. We were looking for a starter home, something we would eventually grow out of, we wound up with a home that was much bigger than we anticipated. Now we hope that our home is something that we will eventually grow into.
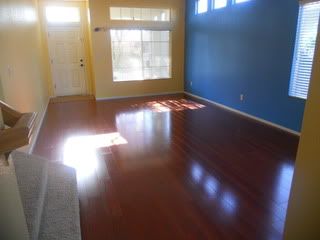
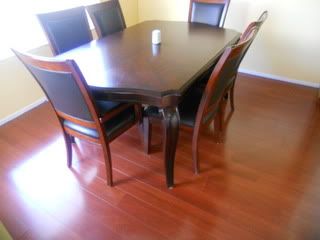
This year we decided we would upgrade, we would swap out our carpet on the first floor for beautiful, shiny, wood flooring. After shopping for weeks and my uneasy, unwillingness to make a decision, I finally did, and the mayhem began. You always hear about how easy it is to install wood flooring, a week later I would say yes, it is easy. Yes, it is easy, you need to have the right tools, yes you need patience, yes, you will mess up and yes, plan to have no life during the entire project. Was it worth it? Definitely, check out our results and see for yourself!
Total DIY Savings: $2093.00
First things first, decide on what you want. I have rated the major players in three categories below, Durability, Longevity & Price, 3 being the best, 1 being the worst. Please note, I am NOT a floor expert, these are the conclusions I came to after my many trips to the lumber store and many conversations with the lumber store staff.
Durability (Ease of damage): Real Hardwood (**), Engineered Wood (*), Laminate (***)
Longevity (Guarantee): Real Hardwood (***), Engineered Wood (*), Laminate (**)
Price (No explanation needed): Real Hardwood ($$$), Engineered Wood ($$), Laminate ($)
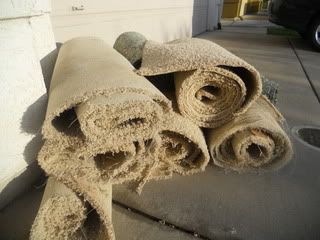
Step Two: DEMO! This has got to be the best part of DIY-ing. If you have anger problems find a friend who is working on their home and ask them if they need help tearing stuff out.
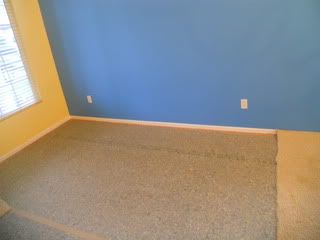
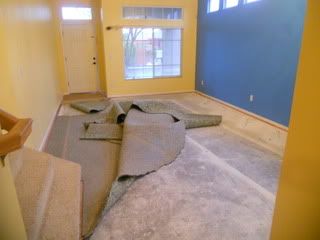
Using an exacto knife cut squares in your carpet and pull! It really is that easy.
You can see the first square of carpet we cut out here. You should have some foamy, rubbery, mat type sponge material under your carpet. Guess what? You get to tear that out too!
Ta-Dah! Under our foamy, spongy, rubbery material was our concrete floor.
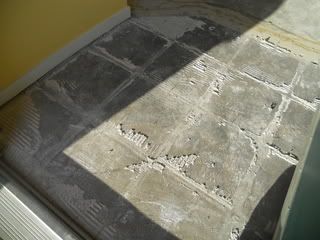
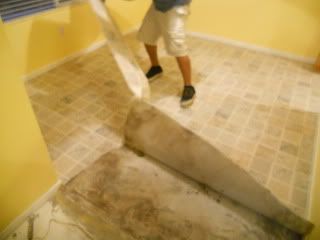
If you have any tile you are replacing, use a hammer to break it up and remove that as well. This is what our floor looked like under our tile.
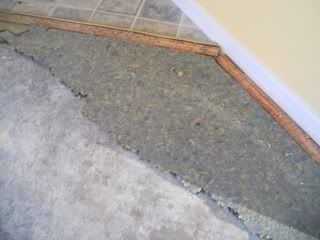
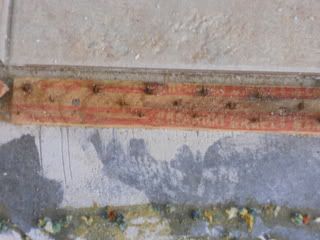
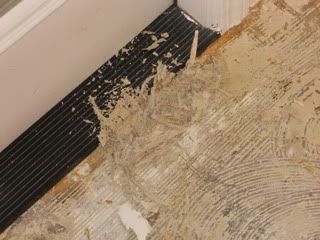
You will be left with some remnants of the spongy material and a thin strip of wood around the edges that is nailed down to the floor. This part sucks. Use a hammer, a crowbar, whatever you can, to pull up this wooden "frame" and all of the nails.
Here's the close up of the "frame", you can see all the little nails embedded in it. Unfortunately this step will take some time and elbow grease.
Prep the rest of your floor. We had linoleum in the kitchen, using a crowbar we lifted enough of it to pull it off. I can't believe I found 2 different types of linoleum under there, what were the previous owners thinking?
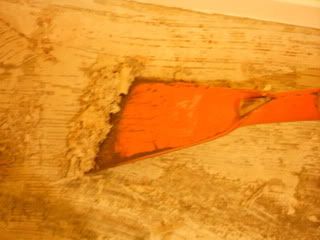
Now it's time to prep and clean your floors. Using a flat edge, scrape up any remnants of glue off of the concrete. I have no idea what this tool is that Jim used, but it worked amazingly well!
Look at all that glue! That's just gross.
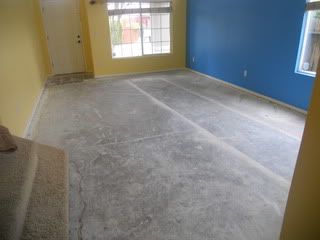
Ta-Dah!
Here is a very important step, you have to make sure your floors are absolutely clean before you lay down any new materials. My method? Sweep the floors, vacuum the floors, then using the proper attachment vacuum in and around all the molding, and finally sweep the floors again.
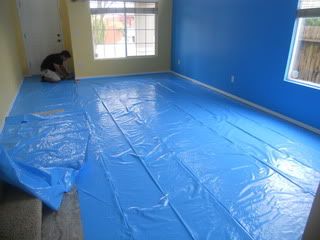
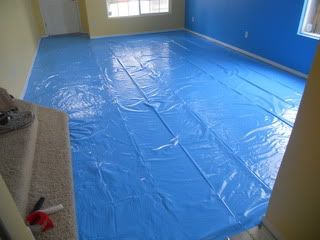
We decided on a "Click & Lock" laminate floor. But before you install the flooring, you must first cover the surface area with a vapor barrier. It comes in rolls of about 300 square feet and is fairly easy to do.
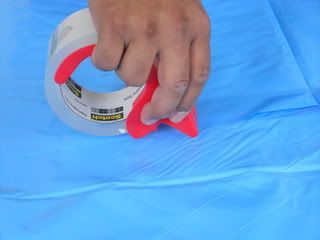
Secure the vapor barrier with packaging tape. DO NOT use duct tape it is not waterproof!
Check your newly covered area for any dirt or small debris, you want to make sure the area is totally clean before you lay any wood.
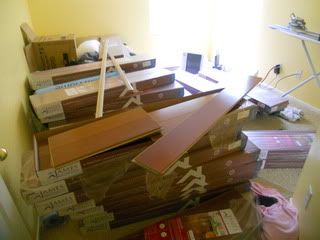
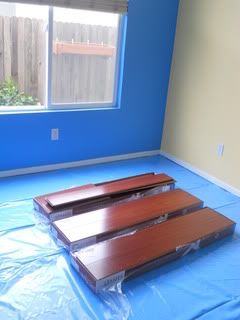
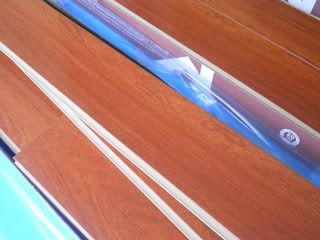
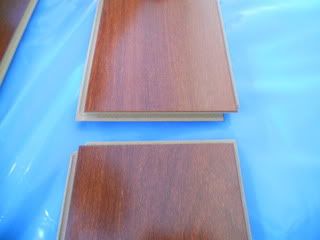
Open a few boxes of wood so you can identify the sizes and different patterns and/or shades you have.
I LOVE our wood, it has this beautiful deep reddish mahogany finish that I am in love with.
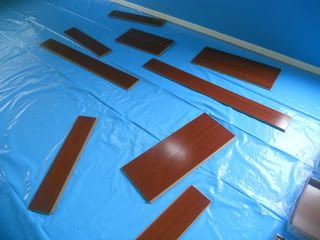
Lay the pieces out (like puzzle pieces) so you can easily search and grab what you need.
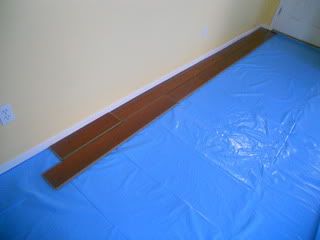
Start faux laying out the floor in one corner of the house. Make sure you stagger your joints at least 6 inches. In order to create a beautiful look try not to use any patterns or repeat sequences.
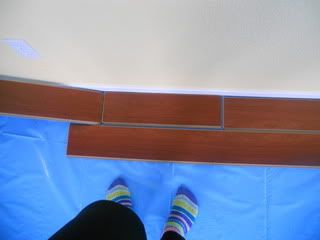
This is me checking out the plan, and yes, those are my fuzzy striped socks.
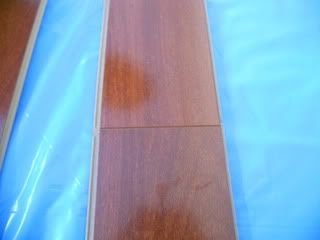
Click and Lock wood is really easy to install, there is a groove and there is a tongue, each piece fits together perfectly, clicking when interlocked in place letting you know you have attached the pieces together correctly.
Begin to Click and Lock your faux line together. You will need to keep a hammer and a tapping block handy to assist you in locking stubborn pieces in place. When you get to corners and edges, you will need a miter saw, an angle measure and a table saw. You will also need to purchase reducers or T moldings according to your home.
It took us a total of 3 eight hour days to install wood flooring covering 700 square feet. I had no stove, no kitchen, I no longer have muscle control in my arms or legs, but I have a new floor. I also have an extra $2000 in the bank. Can't beat that!
If you are seriously considering installing wood floors in your home I suggest visiting the DIY Network to check out step by step how to videos and directions. Good luck!
Looks really good, dude!
ReplyDeleteThanks Matt! It was tough work but totally worth it!
ReplyDeleteGreat DIY work indeed. Your lovely wooden floor was worth the hassle. Congratulations!
ReplyDeleteSuch lovely wood floors I really love this.Great job..
ReplyDeletethese are some great pics of wooden flooringWood floors installed
ReplyDeletenice blog with some really nice pics of wooden floorInstalling wood flooring
ReplyDeleteEverything looks really nice! So crisp, clean, and updated! Great job!
ReplyDeletewooden floors installation
Hello guys! It was nice reading your post. I wonder, you made your floor installation by own. Great job! Usually people found the installation work to be done by the experts rather doing it by own because nobody wants to take a risk with the hardwood installation specially. These floor types are one of the most expensive flooring options so the installation should be done properly.
ReplyDelete