Wednesday, March 30, 2011

DIY Project: Installing Wood Floors

Photobucket

MIA - Missing In Action. Yup. That's me and I know it. But I have a great reason, home ownership. Isn't it grand?

In 2009, before we were married, Jim and I decided it was time to invest in a home. We had certain criteria we were looking for, and certain "wish list" items we hoped this new home would contain. In December of that year we closed escrow and moved into our home. One of the wish list items we really wanted, that our home did not have, was wood flooring. However, the market had crashed, prices were low and this home was on the market for much less than it would have sold for before the crash. We were looking for a starter home, something we would eventually grow out of, we wound up with a home that was much bigger than we anticipated. Now we hope that our home is something that we will eventually grow into.

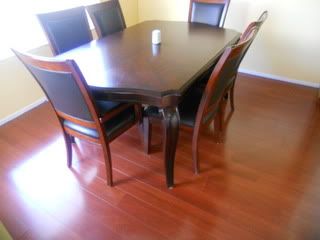
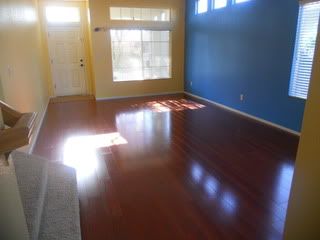
This year we decided we would upgrade, we would swap out our carpet on the first floor for beautiful, shiny, wood flooring. After shopping for weeks and my uneasy, unwillingness to make a decision, I finally did, and the mayhem began. You always hear about how easy it is to install wood flooring, a week later I would say yes, it is easy. Yes, it is easy, you need to have the right tools, yes you need patience, yes, you will mess up and yes, plan to have no life during the entire project. Was it worth it? Definitely, check out our results and see for yourself!

Total DIY Savings: $2093.00
Photobucket
First things first, decide on what you want. I have rated the major players in three categories below, Durability, Longevity & Price, 3 being the best, 1 being the worst. Please note, I am NOT a floor expert, these are the conclusions I came to after my many trips to the lumber store and many conversations with the lumber store staff.
Durability (Ease of damage): Real Hardwood (**), Engineered Wood (*), Laminate (***)
Longevity (Guarantee): Real Hardwood (***), Engineered Wood (*), Laminate (**)
Price (No explanation needed): Real Hardwood ($$$), Engineered Wood ($$), Laminate ($)

Photobucket
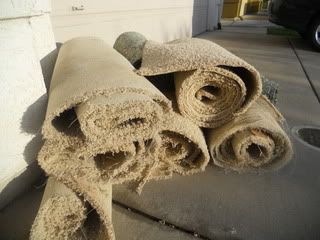
Step Two: DEMO! This has got to be the best part of DIY-ing. If you have anger problems find a friend who is working on their home and ask them if they need help tearing stuff out. 
Using an exacto knife cut squares in your carpet and pull! It really is that easy.

Photobucket
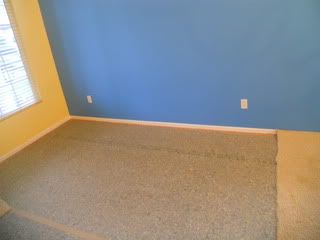
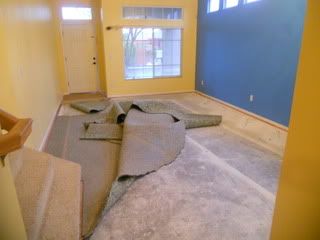
You can see the first square of carpet we cut out here. You should have some foamy, rubbery, mat type sponge material under your carpet. Guess what? You get to tear that out too!

Photobucket
Ta-Dah! Under our foamy, spongy, rubbery material was our concrete floor. 

Photobucket
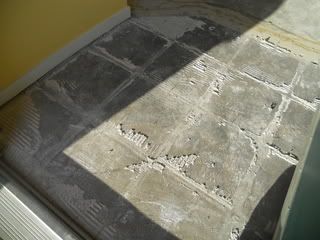
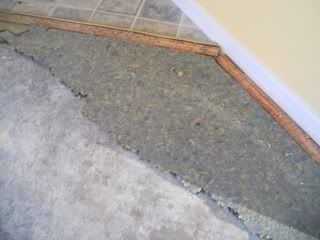
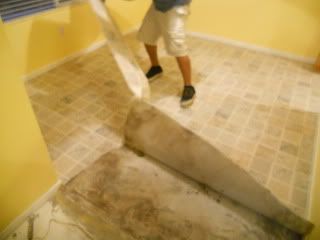
If you have any tile you are replacing, use a hammer to break it up and remove that as well. This is what our floor looked like under our tile.

Photobucket
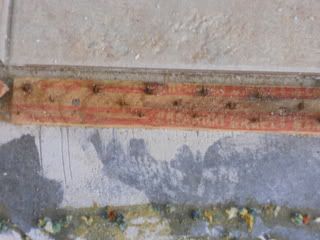
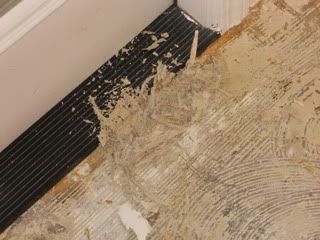
You will be left with some remnants of the spongy material and a thin strip of wood around the edges that is nailed down to the floor. This part sucks. Use a hammer, a crowbar, whatever you can, to pull up this wooden "frame" and all of the nails.

Photobucket
Here's the close up of the "frame", you can see all the little nails embedded in it. Unfortunately this step will take some time and elbow grease.

Photobucket
Prep the rest of your floor. We had linoleum in the kitchen, using a crowbar we lifted enough of it to pull it off. I can't believe I found 2 different types of linoleum under there, what were the previous owners thinking?

Photobucket
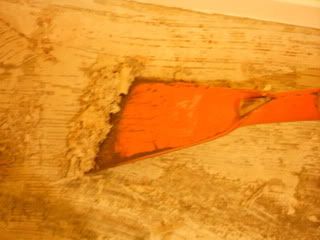
Now it's time to prep and clean your floors. Using a flat edge, scrape up any remnants of glue off of the concrete. I have no idea what this tool is that Jim used, but it worked amazingly well!

Photobucket
Look at all that glue! That's just gross.

Photobucket
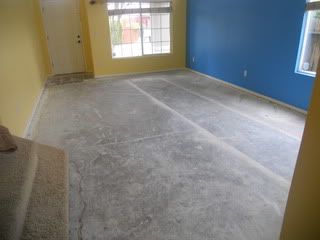
Ta-Dah! 
Here is a very important step, you have to make sure your floors are absolutely clean before you lay down any new materials. My method? Sweep the floors, vacuum the floors, then using the proper attachment vacuum in and around all the molding, and finally sweep the floors again.

Photobucket
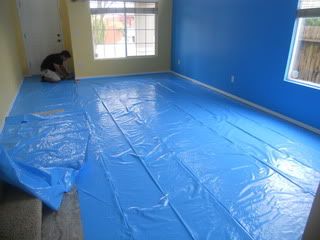
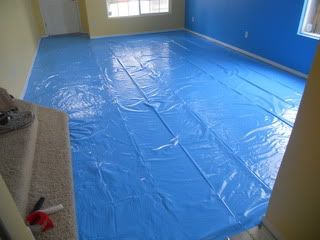
We decided on a "Click & Lock" laminate floor. But before you install the flooring, you must first cover the surface area with a vapor barrier. It comes in rolls of about 300 square feet and is fairly easy to do.

Photobucket
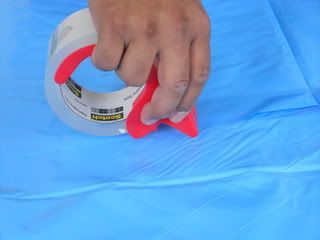
Secure the vapor barrier with packaging tape. DO NOT use duct tape it is not waterproof!

Photobucket
Check your newly covered area for any dirt or small debris, you want to make sure the area is totally clean before you lay any wood. 

Photobucket
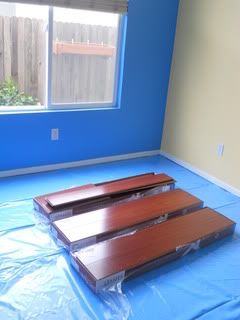
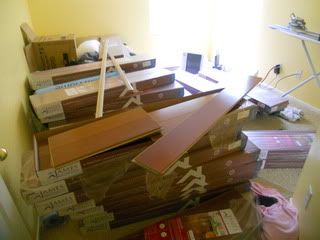
Open a few boxes of wood so you can identify the sizes and different patterns and/or shades you have.

Photobucket
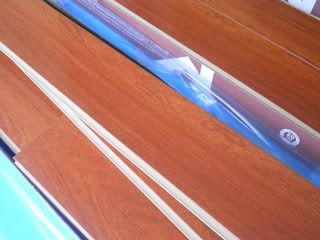
I LOVE our wood, it has this beautiful deep reddish mahogany finish that I am in love with.

Photobucket
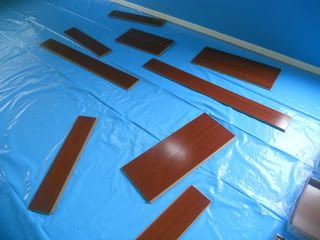
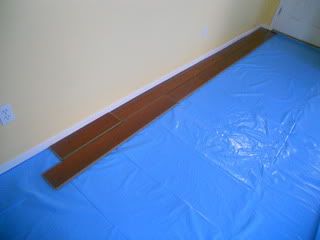
Lay the pieces out (like puzzle pieces) so you can easily search and grab what you need.

Photobucket
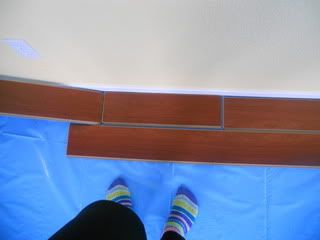
Start faux laying out the floor in one corner of the house. Make sure you stagger your joints at least 6 inches. In order to create a beautiful look try not to use any patterns or repeat sequences.

Photobucket
This is me checking out the plan, and yes, those are my fuzzy striped socks.

Photobucket
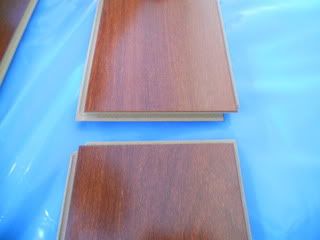
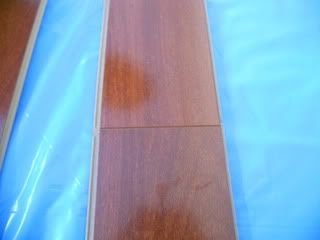
Click and Lock wood is really easy to install, there is a groove and there is a tongue, each piece fits together perfectly, clicking when interlocked in place letting you know you have attached the pieces together correctly.

Photobucket
Begin to Click and Lock your faux line together. You will need to keep a hammer and a tapping block handy to assist you in locking stubborn pieces in place. When you get to corners and edges, you will need a miter saw, an angle measure and a table saw. You will also need to purchase reducers or T moldings according to your home. 

Photobucket
It took us a total of 3 eight hour days to install wood flooring covering 700 square feet. I had no stove, no kitchen, I no longer have muscle control in my arms or legs, but I have a new floor. I also have an extra $2000 in the bank. Can't beat that!

If you are seriously considering installing wood floors in your home I suggest visiting the DIY Network to check out step by step how to videos and directions. Good luck!
Wednesday, March 23, 2011

Semi-Homemade Indian Butter Chicken

Photobucket

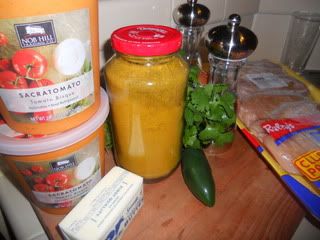
I have to preface this post by saying, I'm sorry, there is a key ingredient in this dish that may be hard for some of you to find. It is the semi-homemade portion of my dish, Nob Hill Co. distributed Sacratomato Soup, available (where I am) in Raleys, Bel-Air and Nob Hill stores. If you are unable to find it, substitute this ingredient with a high quality tomato bisque. Disclaimer finished.

I've been living in Northern California for eight years now, and much to my surprise, only very recently did my lips touch the silky, creamy, deliciousness of this tomato bisque soup. I bought the soup on a whim after a colleague at work raved about it one day. As soon as I had that first spoonful, two words came to my mind, Butter chicken. I knew then, that this was a dish that I had to make. For those of you who have never tried this dish, butter chicken is a classic served at most Indian Restaurants across the world. Besides the two obvious ingredients, butter and chicken, the other common ingredients include tomato puree, cream and traditional Indian spices. The best part about a "semi-homemade" dish? It's quick and easy, if you have thirty minutes, you can make authentic Indian Butter Chicken.

Serves 4-6
Photobucket
Here's a look at the key ingredients used in this dish. 

- 4 boneless, skinless chicken breasts (cubed in 1 inch pieces)
- 36 oz. of Nob Hill (or other high quality) Sacratomato Soup (tomato bisque)
- 1/2 a large onion, sliced
- fenugreek seeds (1/4 teaspoon)
- cumin seeds (1/4 teaspoon)
- 4-6 mustard seeds
- 1/2 a teaspoon mixed curry powder 
- 1/2 a teaspoon cayenne pepper
- 1 stick of unsalted butter
- 1 teaspoon of minced garlic
- 1 large jalapeno (diced)
- 1/4 cup cilantro (chopped)
- Salt & pepper to taste

Photobucket
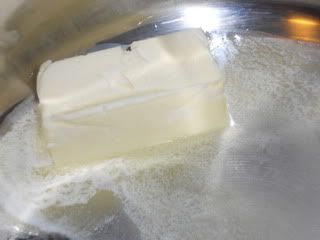
Melt the butter in an 11 inch skillet on medium/high heat. 

Photobucket
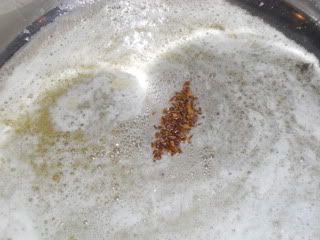
Add in the fenugreek, cumin and mustard seeds, stir and toast for one minute.

Photobucket
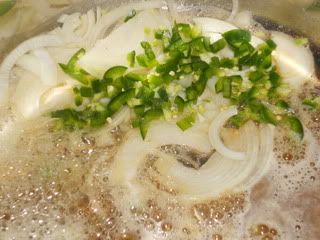
Add in the jalapeno and onions, cook until soft and translucent.

Photobucket
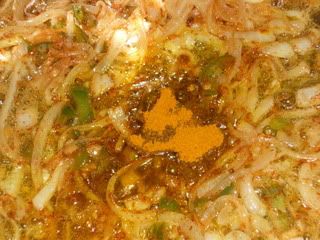
Add in the garlic, mixed curry powder and cayenne pepper. To learn how to mix curry powder check out my Chicken Curry recipe.

Photobucket
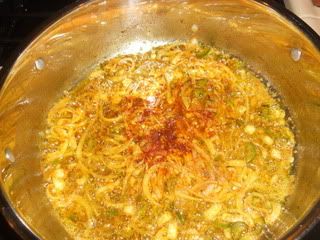
Stir the ingredients together and cook for one minute.

Photobucket
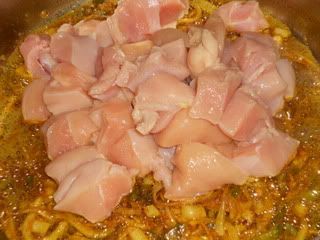
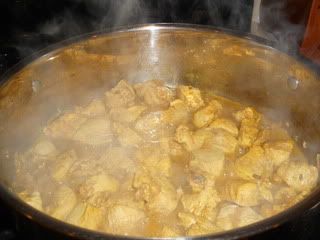
Add in the chicken, stir to coat, cover and cook for ten minutes.

Photobucket
Uncover and cook for another five minutes.

Photobucket
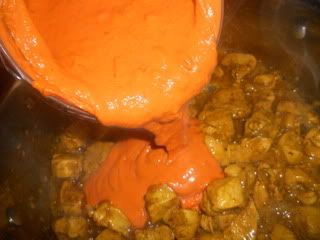
Add in the Sacratomato soup, stir and bring to a boil.

Photobucket
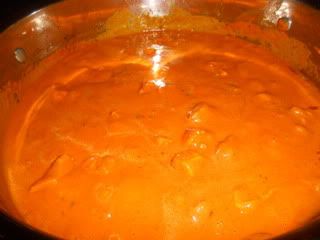
Turn heat to medium/low and cook for an additional ten minutes.

Photobucket
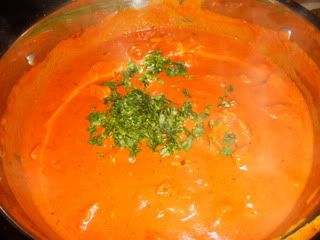
Give the sauce a taste, add salt and pepper as needed. Add in cilantro, remove from heat and serve over white rice. Yum!
Monday, March 21, 2011

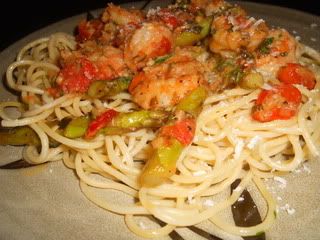
Shrimp & Asparagus in a Tomato Butter Sauce


Photobucket


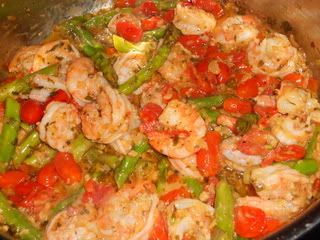
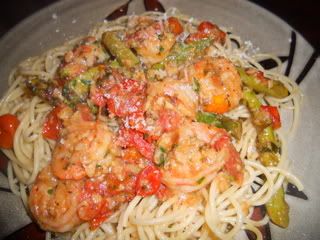
As promised, here is Jim's special (and might I add easy) birthday dinner. When he announced to me that we would be "staying in" for his birthday, I decided I needed to take a trip to the grocery store. Jim loves shrimp, it's his absolute favorite seafood, I knew I had none and went off to see what I could find. I picked up a pound of beautifully fresh jumbo shrimp. The bonus? It was on sale!! I also picked up some asparagus, which is in season, and some sweet grape tomatoes. The meal was coming together in my mind. This dish takes about 30 minutes to prep and cook, super quick, super easy, super yummy!

Serves 4
Photobucket
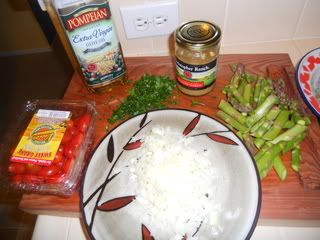
Here's a look at some of the key ingredients you need for this dish. 

- 1 lb. of de-veined jumbo shrimp
- 1 1/2 sticks of unsalted butter
- 10 oz. sweet grape tomatores
- 1 cup of asparagus (cut into 1 inch pieces)
- 1/2 tsp. of olive oil
- 1 1/2 tbsp. of minced garlic
- 1/4 cup of Italian parsley (finely chopped)
- 1/2 of a large yellow onion (diced)
- Salt & Pepper (to taste)
- Freshly grated Parmesan cheese (for topping)
- 1 package of spaghetti (cooked per package ingredients)

Photobucket
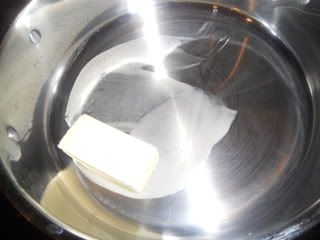
Begin by cooking the spaghetti per package instructions, and toss with olive oil and freshly cracked pepper. Meanwhile, melt 1 stick of butter in a pot over medium heat. 

Photobucket
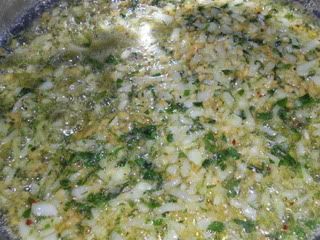
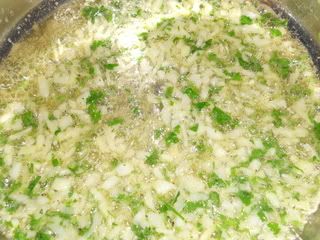
Add in the onions, parsley, a pinch of salt and pepper. Cook until onions are soft. 

Photobucket
Add in garlic and cook for another 2 minutes, stirring to prevent any sticking.

Photobucket
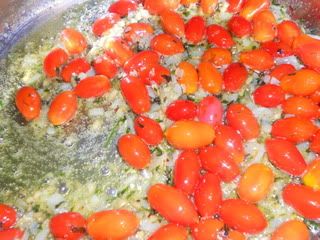
Add in the tomatoes, cover and cook for five minutes.

Photobucket
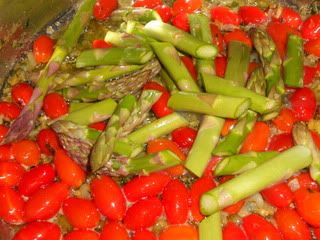
Add in the asparagus, stir together and cook for another five minutes.

Photobucket
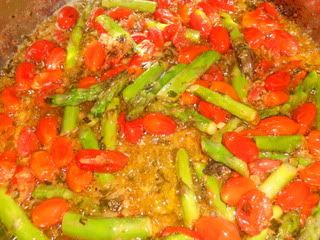
Using the back of a spoon crush 7-9 tomatoes in the pot to release the juice.

Photobucket
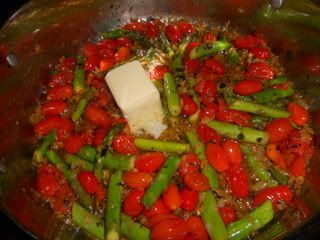
Add in the remaining butter and melt.

Photobucket
Add in the shrimp, and stir together well with other ingredients, coating the shrimp in the delicious buttery tomato sauce.

Photobucket
Cook until shrimp are done. Remove from heat.

Photobucket
Serve the shrimp over spaghetti and sprinkle with freshly grated Parmesan cheese. Enjoy!

Saturday, March 19, 2011

Jim's Birthday Cake Part Deux

Photobucket

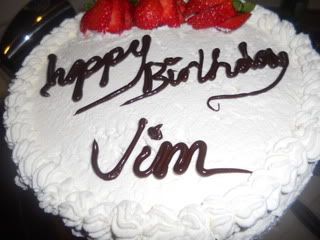
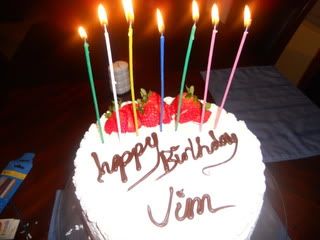
Ta-Dah! Jim's birthday cake turned out awesome! I was very excited about how it came out, my decorating skills are getting much better. Like the old adage says, "Practice makes perfect", it really is true. Baking the cakes the night before was genius, especially since when I asked Jim where he wanted to go out to dinner he replied,  "Why don't we just stay in?". Not only did I have to decorate his cake but I would have to make dinner too, I started to panic. Everything came together in the end (I promise to share Jim's special birthday dinner dish tomorrow), and I'll end this post with another popular quote recited by thousands of young boy scouts all over America, "Always be prepared".

 Assembly & Decoration
Photobucket
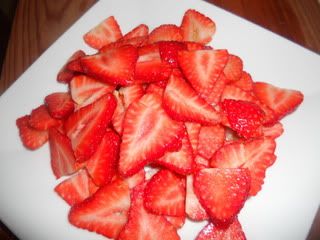
Begin by slicing 1/2 a cup of strawberries lengthwise and set aside.

Photobucket
Place the bottom layer of your cake on a cake stand. Tuck in small strips of parchment paper along the edges, overlapping them.

Photobucket
Meanwhile, prepare your frosting. Jim isn't a big fan of overly sweet frosting, so I opted to frost the cake with fresh whipped cream. In a bowl, combine 2 cups of cold heavy cream with 2 tablespoons of sugar and 1 teaspoon of vanilla extract.

Photobucket
Beat until stiff peaks form. Place whipped cream in the refrigerator to keep cold until needed.
Now back to the cake...

Photobucket
Place 3 tablespoons of prepared vanilla custard on the first layer and spread out evenly using the back of a spoon.  Using a serrated knife, trim the crown of your cake (as needed) to make the surface of the cake even and flat. Luckily I still had fresh custard in the refrigerator left over from the Fruit Basket Cake (you can find the recipe for the custard in that post) I had made.

Photobucket
Save 1/2 an inch along the edges, the weight of the top layer will push your filling to the edge.

Photobucket
Arrange your strawberries atop of the custard.

Photobucket
Like so!

Photobucket
Carefully place the second layer of cake atop the first one.

Photobucket
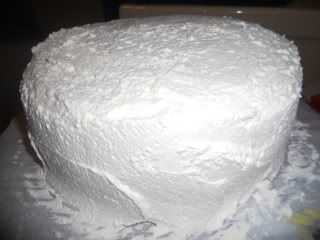
Using a off set spatula apply a coat of whipped cream to your cake and refrigerate for at least 10 minutes to help it set. Note: Make room in your fridge for the cake stand, or if you're lucky, you may have a stand that allows the plate to be removed, like mine does.

Photobucket
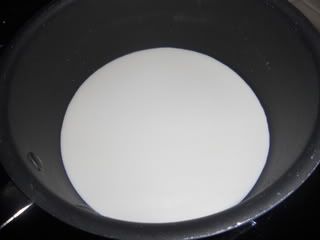
Meanwhile bring 1/4 cup of heavy cream to a boil in a saucepan.

Photobucket
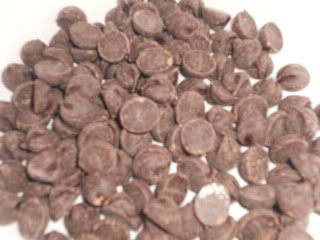
Place 1/2 a cup of semi-sweet chocolate in a medium bowl.

Photobucket
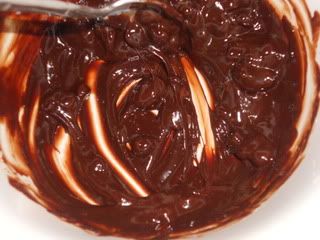
Add half of the hot cream to the chocolate and stir to melt. If you have trouble melting your chocolate you can add a few more drops of cream or nuke it in the microwave for 10 seconds. Be careful not to burn the chocolate! Melting chocolate can be funny business.

Photobucket
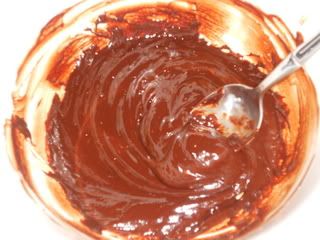
Once your chocolate ganache is smooth and silky, place it in the refrigerator to cool. We want to harden the chocolate just a bit so that it will keep its form when piped with a pastry bag & tip.

Photobucket
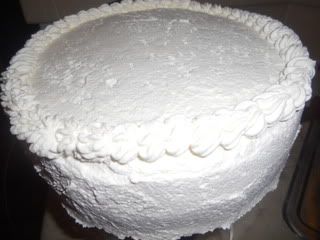
Meanwhile, remove the cake from the refrigerator, place it back atop your stand and apply another coat of whipped cream. You can place any remaining whipped cream in a pastry bag fitted with a tip and create a decorative border like I did.

Photobucket
When your chocolate has reached the right consistency, add it to a clean pastry bag fitted with a small round tip and add decorative details like a custom Birthday greeting. 
Light candles (I opted for the long sparkler kind) and celebrate! Isn't it picture perfect? Happy Birthday Jim!