This is a first, I have never, ever made crème brûlée. The top reason why (I think) people don't make it is because they think its too hard! While doing my research for this recipe (I love Google) you won't believe all the notes about it being too difficult I came across. Let me tell you it was easy! It may sound difficult but its not. Suck it up, and try it, you'll see. The thing you do need to make this delectable dessert is the right tools, patience and above all a steady hand. Besides that this is the perfect special dessert to make for that special someone on that special day, Valentine's Day.
As I mentioned before this was a first for me, so I really didn't have a perfected recipe to share. I googled like crazy, visited my favorite sites read existing recipes and made a plan. The following physical recipes were looked at the most while I assembled my own recipe, the rest was all from what I've seen on TV and had at restaurants, the recipes were from Paula Deen, Alton Brown, & Wikipedia. I have to say it was so delectable I think I'm in love...again!
Serves 4
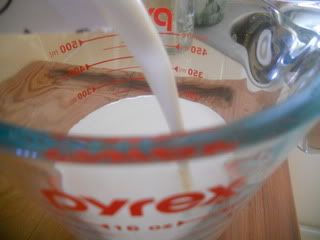
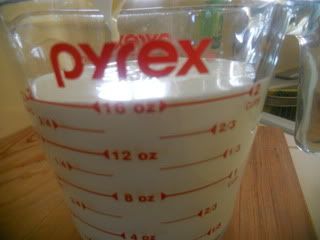
First, you will need heavy cream.
Measure out 2 cups.
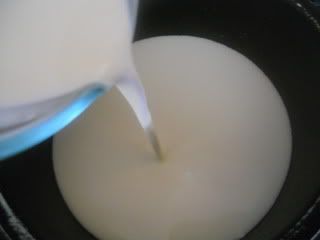
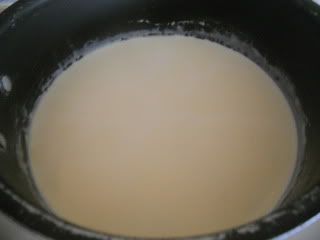
Pour the cream into a saucepan set on the stove on medium/low heat.
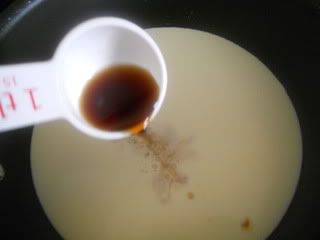
Add in one tablespoon of vanilla extract.
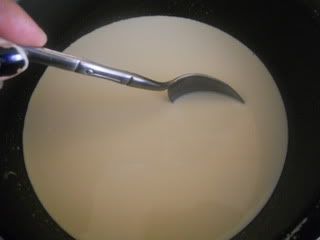
Stir the ingredients to combine. Now heat the cream mixture carefully so as not to boil it.
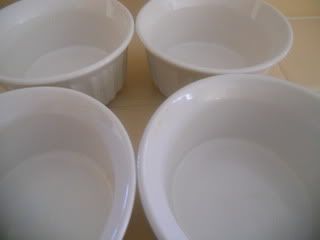
Meanwhile you will need four 7 ounce ramekins.
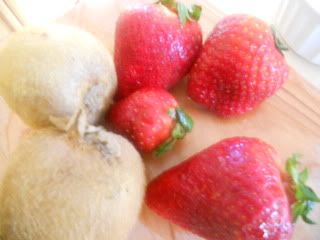
Two kiwis and about 4 fresh large strawberries.
Once the cream is hot and has simmered (about 15 minutes or so), remove it from the heat and set aside and let cool down a little for another 15 minutes. Meanwhile go back to your prep.
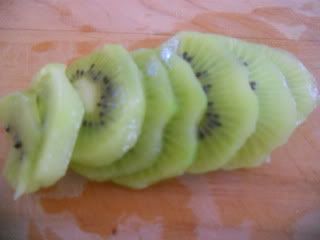
Peel the kiwi's and slice them into rounds.
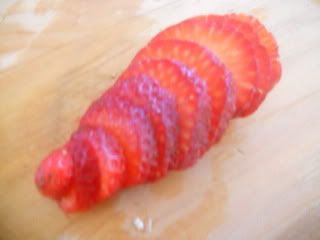
Do the same with the strawberries.
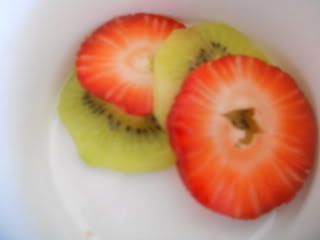
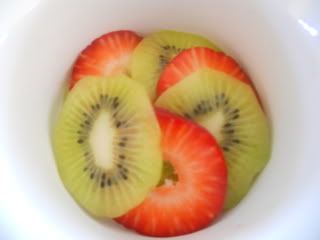
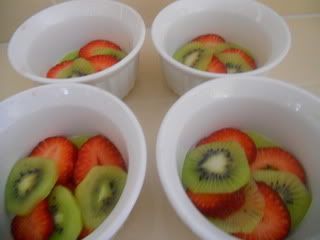
Layer the kiwi and the strawberry alternating the fruit, on the bottom of the dish.
Ta-dah! Try not to eat the fruit our you'll have to slice more:)
Repeat this step until all four ramekins are finished. Set the ramekins aside.
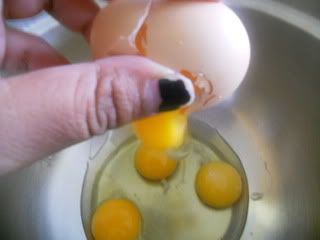
Next, in a bowl separate four egg yolks from the egg whites. Reserve the egg whites for later use, you can refrigerate them.
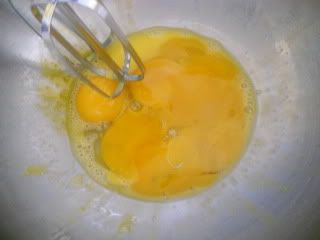
Beat together the egg yolks with an electric mixer set on high for about five minutes.
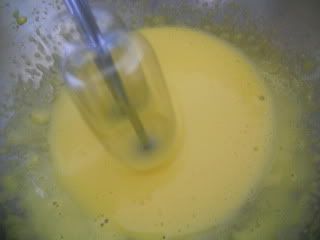
The mixture should become light and fluffy like.
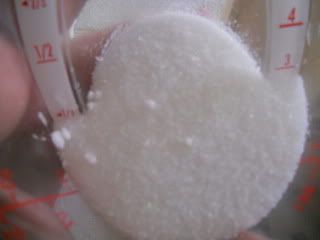
Next, measure out 1/3 a cup of sugar.
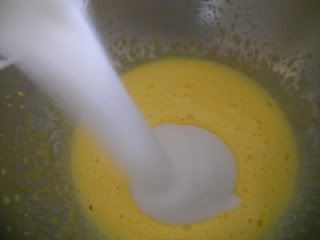
Pour the sugar into the egg mixture and continue to beat with the mixer on high.
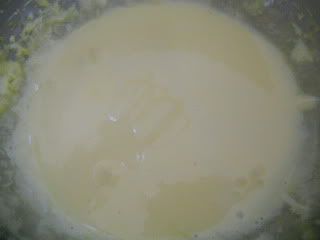
The mixture will smell delicious and be a creamy, smooth pale yellow.
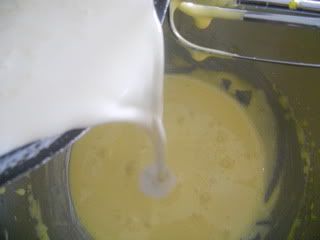
Add in the cream mixture to the egg mixture, slowly while beating on medium speed so as to prevent the eggs from cooking. Mix until combined.
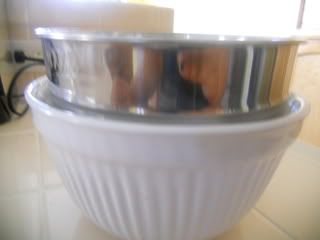
Next place a small sieve atop another bowl large enough to drain your mixture into.
Be careful, if the sieve does not fit into your bowl it may move around a bit.
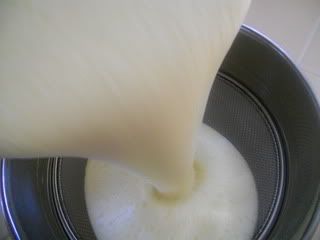
Slowly, and carefully pour your mixture through the sieve.
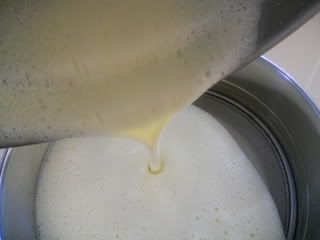
The sieve will drain out and smoothen your custard mixture.
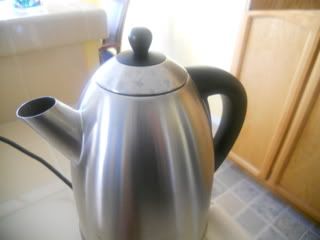
Meanwhile heat some water in a kettle or in a saucepan.
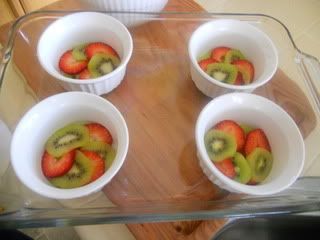
Place your ramekins inside of a larger baking dish with sides, I used my Pyrex.
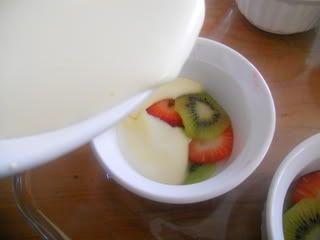
Carefully pour the custard into the ramekins save about 1/2 an inch of space from the top.
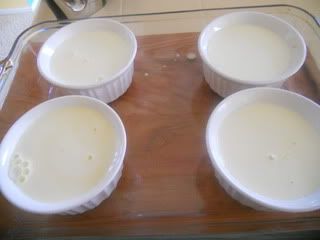
Beautiful!
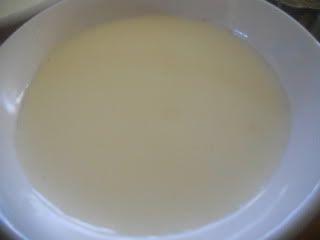
The custard should be smooth.
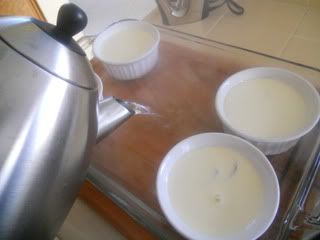
Next, pour the hot water slowly into the baking dish, about 1/2 way up on the ramekins, creating a water bath. This step is essential to the process.
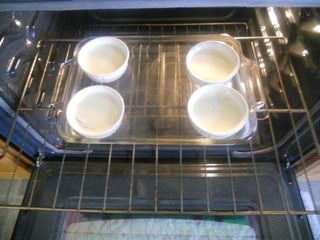
Very carefully place the dish in the oven at 300 degrees and bake for about 45 minutes until the custard is set. The custard will still move and be quite jiggly.
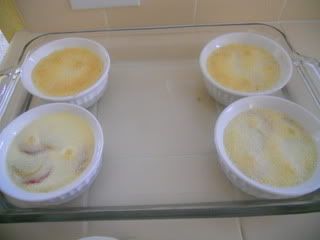
Some of the custard may have darkened on top but thats okay. Carefully remove the ramekins from the water bath.
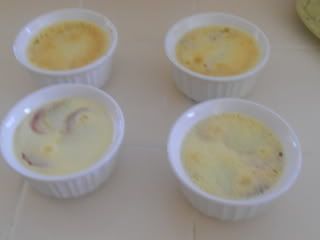
Let the crème brûlée cool down to room temperature then move them into the fridge for further cooling. At least 1 1/2 - 2 hours.
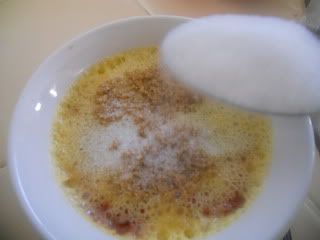
When ready to serve pull out of the fridge. Softly sprinkle 1 teaspoon of both brown and white sugar on top.
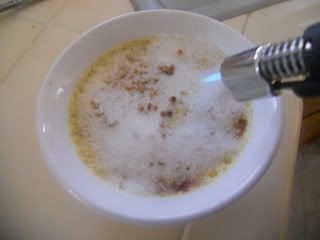
Using a blowtorch, held about 2 inches away from the surface heat up the sugar until it begins to caramelize. You can purchase these small torches at most major hardware stores, they are fairly inexpensive.
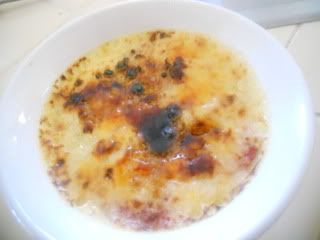
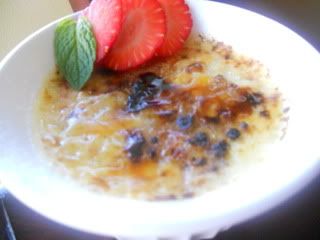
You should have created a hard caramelized crust or skin.
Serve immediately and enjoy!
No comments:
Post a Comment