Thursday, March 17, 2011

Jim's Birthday Cake Part Un

Spring seems to be bringing the season of cakes along with it. After baking a wonderful three layer Fruit Basket Cake last weekend, today I set out to bake half of Jim's birthday cake. Half? Why half? If you go back to Sunday's recipe and look very closely, you will see that the first few pictures in the photo were taken in broad daylight. The rest of the pictures are white out, flash on, nighttime photos. So I got smarter. Technically Jim's birthday is tomorrow, I've decided to bake him a beautiful two-layer strawberry yellow cake, filled with, more strawberries!

My number one mistake on Sunday was I attempted to do everything in one day and I spent half the day waiting for the darn cakes to cool! So in order to actually bake my husband an amazing birthday cake I decided I would get the "baking" part over with today. This yellow cake recipe is inspired directly from the yellow cake recipe in the Cake Bible by Rose Levy Beranbaum. The strawberry part is actually my own fun little twist. Happy baking!

Two 9 in. Cakes
Photobucket
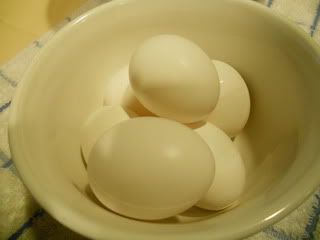
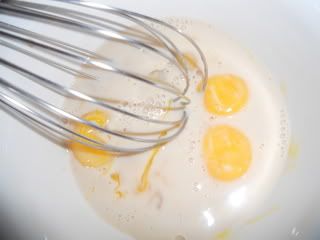
First, you will need 6 room temperature large eggs.

Photobucket
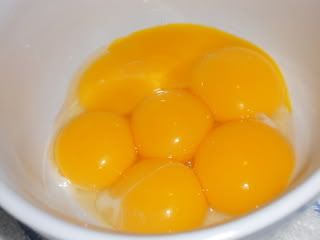
Separate six yolks into one medium sized mixing bowl.

Photobucket
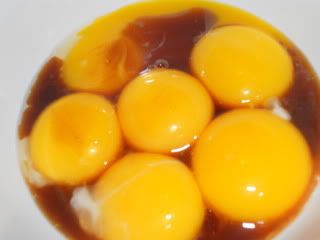
Add in 2 teaspoons of pure vanilla extract.

Photobucket
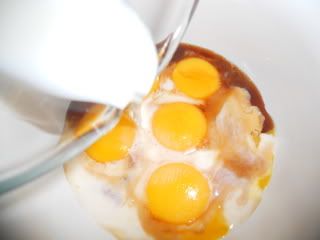
And 1/4 cup of milk.

Photobucket
Beat together lightly to combine, and set aside.

Photobucket
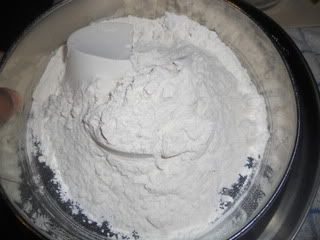
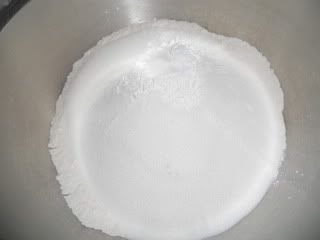
In a large mixing bowl, add in 3 cups of sifted cake flour.

Photobucket
Add in 1 1/2 cups of sugar, 3/4 teaspoon of salt, 1 tablespoon plus 1 teaspoon of baking powder and stir with a wire whisk to combine.

Photobucket
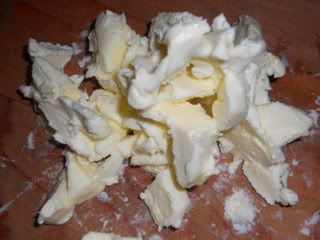
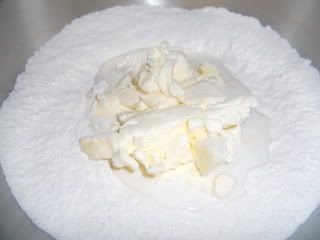
Cut 12 tablespoons of room temperature butter into small pieces. 

Photobucket
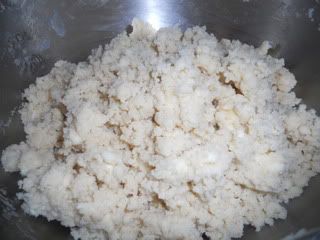
Add the butter and 3/4 cup of milk to the dry ingredients and beat with a mixer on medium speed about 2 minutes.

Photobucket
The mixture will look doughy and crumbly.

Photobucket
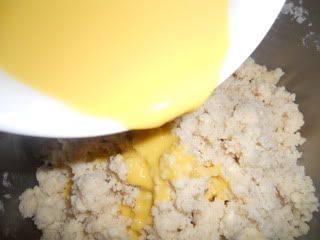
Add in the egg mixture in three parts, beating well after each addition.

Photobucket
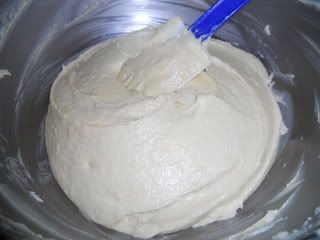
Ta-Dah! If you don't want to add the strawberries to the batter, you can split up the batter now and bake.

Photobucket
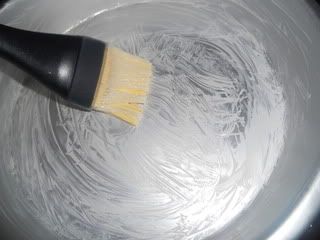
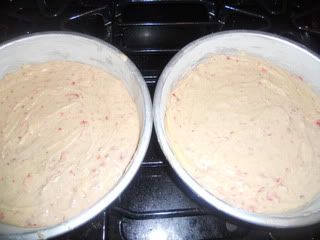
Butter and flour two 9 inch round cake pans, line both with a parchment circle than butter and flour the parchment. Set prepared pans aside.

Photobucket
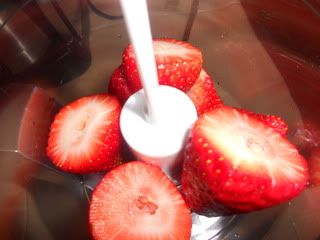
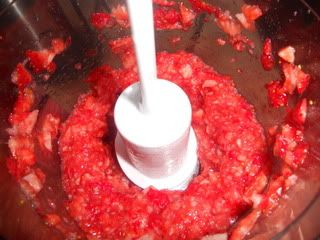
Place 1/2 a cup of strawberries in a food processor and pulse to finely chop.
Photobucket
Make sure to not over pulse the strawberries, you do not want them to puree.

Photobucket
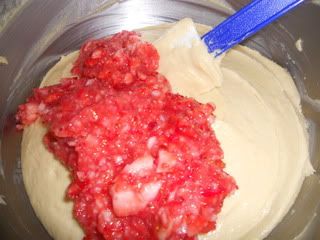
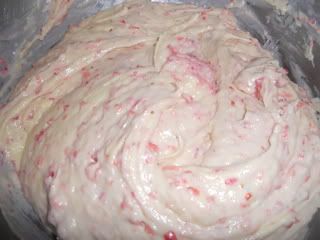
Fold the strawberries into the batter well.

Photobucket
Hello beautiful!

Photobucket
Bake in an oven at 350 degrees for 45 minutes or when an inserted cake tester comes out clean.

Cool cakes completely overnight. 
Check back tomorrow to check out the finished product! Stay tuned...


Monday, March 14, 2011

Baked Ziti

Photobucket
If you haven't noticed already, I love cooking pastas, I'm a bit of a pasta freak, but it's okay, Jim is too. With the weather being so blah here lately and the forecasters currently showing no end in sight, I was definitely looking to cook something warm and comforting today. Baked Ziti is such an easy dish to put together, not a lot of maintenance, totally satisfying and pretty easy. This particular version is vegetarian but you can feel free to add in Italian sausage (or whatever) to the sauce to make the dish more carnivore-friendly. Total prep time is about 30 minutes, cooking time is an additional 45 minutes, but it's oh so worth it. Ooey, gooey, cheesy, baked ziti, its warm and comforting. The perfect hot meal on a day like this.

Serves 6
Photobucket
The key players, you will need:
- 3 Roma tomatoes
- One 8 oz. can of tomato sauce
- One 12 oz. can of stewed tomatoes with basil and garlic
- 4 cloves of garlic
- 1 1/2 cup of ricotta cheese
- 1/2 cup of parmesan cheese (grated)
- 2 cups of mozzarella cheese (grated)
- 1/2 a large onion (diced)
- 3 tbsp. of tomato paste
- 1/2 a cup of Italian parsley (chopped)
- 1/2 tsp. of dried oregano
- 1/2 tsp. of red pepper flakes
- 1 cup of water
-1 package of penne rigati 
- 3 tablespoons of EV olive oil
- Salt and pepper (to taste)

Photobucket
Add the olive oil to a pan and heat on medium/high.
In a stockpot bring 8 quarts of water to a boil, when ready, cook the penne per package ingredients and set aside.

Photobucket
Dice 1/2 an onion finely.

Photobucket
Add the onions to the heated oil and cook, stirring often.

Photobucket
Add in a pinch of salt, pepper, the oregano and red pepper flakes.
Stir to combine and cook until the onions are translucent.

Photobucket
Add in the garlic and stir together to combine well.
Photobucket
Slice the tomatoes into eighths and finely chop the parsley.

Photobucket
Add both to the pan and cook for another five minutes.

Photobucket
The tomatoes will cook down, to help them along, using the back of a wooden spoon, mash some of the larger tomato pieces.

Photobucket
Cut open all of your canned goods.

Photobucket
Add in your diced tomatoes...

Photobucket
and the tomato sauce...

Photobucket
the water.

Photobucket
Finally add in the tomato paste, salt and pepper to taste.
Bring the mixture to a boil.

Photobucket
Reduce heat to medium/low and cook.

Photobucket
Meanwhile, add 2 cups of grated mozzarella cheese to a mixing bowl.

Photobucket
Add in the ricotta cheese.

Photobucket
Stir to combine. Remove sauce from heat.

Photobucket
In a 13 x 9 inch baking dish spoon in a thin layer of sauce.

Photobucket
Next, spoon in a layer of cooked penne.
Photobucket
Top with a 1/2 of your cheese mixture.

Photobucket
Cover generously with sauce, retain only 1/2 a cup of sauce.

Photobucket
Add in the remaining cooked penne and top with remaining cheese.

Photobucket
Top with 1/2 a cup of reserved sauce in the middle of the dish.

Photobucket
Top with parmesan cheese.

Photobucket
Ta-Dah!

Photobucket
Cover with foil and bake at 350 degrees for 30 minutes. Remove foil and cook for an additional 15 minutes.

Photobucket
Remove from oven.

Photobucket
Garnish with freshly chopped parsley and let cool. Serve and enjoy!

Anyone Can Garden!

Photobucket


When I decided to start my own herb garden I was ecstatic, I was no longer going to be a slave to my local grocery store's herb selection (or lack there of). I would grow my own, the way thousands of people do, and have fresh herbs ready to use at the drop of the hat. Then with the help of my husband, my two boxes were made and the seeds were planted. Shortly after the frustration began.

Every day I come home from work, check on my seeds and pout around for about an hour afterward complaining about how they aren't growing! Imagine my surprise when exactly 21 days after I planted them (exactly the amount of time the seed packets had indicated by the way) I spotted sprouts! I have to say I'm in love, for someone who has never really been an avid gardener, I am in love with it! The sprouts make me so proud, they are the fruit of my labor, the sweat from my brow. I promise to never, ever complain about the horrendous amount of time it took for them to show up (wink, wink). So now I'm telling you, if I can do it, YOU can do it! My advice is to start small, don't over extend yourself and you will be reaping the rewards of gardening in no time (well actually it will take time, but you'll get over that).

A sneak peek at my sprouts...
Photobucket
Can you spot the thyme sprouts?

Photobucket
How about  now?

Photobucket
Itty bitty cilantro...

Photobucket
Tarragon!

Photobucket
Cute little oregano leaves.

Photobucket
And the ever so fast growing, long, tall, proud dill!

To be fair I have yet to see sprouts from my basil or parsley, but I can't imagine they are very far behind! Get growing everyone, it's so worth the wait!